Monday, August 19

60th Wedding Anniversay Cake


What a wonderful life 60 years together can hold! This past weekend I got to celebrate David's grandparents 60th wedding anniversary! Can you imagine 60 years? The two of them have so much love for each other it amazing.

 When I got asked to make the cake for them I knew I had to make something as special as them! Since the 60th anniversary is the diamond anniversary I wanted to make the cake in white and silver, since diamonds were a little expensive to put on a cake.

 I made a vanilla cake with cream cheese butter cream. The cake is covered in white fondant. Sorry I didn't take any pictures up to this point.


My first attempt at quilting fondant. I used a fondant impression mat to make the quilt pattern. It didn't show up very well so I went over it with a straight knife.


Next I placed the gum-paste flowers my friend Lauren and I made. That was a process and unfortunately I did not take any pictures. I think i watched about 10 you tube videos on how to make them. I think there is still powdered sugar on my phone from that day!


Adding the silver pearl sprinkles to the cake. I used a small amount of butter cream icing as the glue to keep them from falling off.


The finished product! I made the cake topper out of cardboard and glitter. I cut the numbers out of the cardboard and then attached toothpicks to they would stand. I then covered the numbers in Elmer's glue (but I guess you could use mod-podge). I sprinkled glitter over the glue them let them dry. I then applied two more coats of glue so the glitter wouldn't fall into the cake.


The happy couple! 60 wonderful years together!


Happy 60th Wedding Anniversary!


Friday, August 2

DIY - Wedding Thank You Cards

David and I did a really good at the thank you note game. We got about 95% of our thank yous out the door before the 1 month mark! I think that is really impressive. Those last ones were delayed by missing address or not knowing who the gift was from.

When I started looking at thank you notes I really wanted to get some printed that had pictures of the wedding, but after looking online, we really didn't want to pay that cost. So we made our own!

I found blank packs of folded cards at hobby lobby, a thank you stamp and some ink. We already had the Texas stamp with a heart. It was our wedding logo and we used it on various things at the wedding.We also included a 3x4 picture of us from the wedding.


With 40% off coupons from hobby lobby and the printed photos I think we spent $20 on 75 thank you cards (not including postage). That's alot better than the $0.50 to $1.00 per card we had seen online! Plus the cards really reflected our wedding, and from what we heard from friends and relatives, everybody loved them!


1. What did your thank you notes look like?


Wednesday, June 5

Wedding Photo Display: A Collection of Memories!


When David and I walked into our reception hall for the first time there was this long bar about 12 ft long. The venue had suggested that we put hors d'oeuvres on the table, but we were not sold on that idea. We had talked before about putting pictures from our parents and grandparents weddings somewhere at the reception, but the place was just so long.

Instantly we both had the same idea! Why not put pictures of ALL of our families weddings!

So we made a list of all the grandparents, parents, aunts, uncles, cousins and siblings and realized we had 28 couples that we wanted to display! We contacted all of our family, and asked them to send us pictures from their wedding day. It took us a while to finally get everyone's picutres, but we did it!

Next, we collected old frames from our parents, and then supplied the rest of the frames from the dollar store.

After removing the glass and the stands, we spray painted the frames in our wedding colors. Shipley even tried to help!

(on a side note, my spray paint box is an old ikea box!)

We printed out pictures from walgreens, I kept looking for sale's online so we got them pretty cheap. Also, so nobody would be mad at why their picture was bigger than the others, this was the system we used:

Grandparents & Parents: 8x10
Aunts, Uncles, & Siblings: 5x7
Cousins: 4x6
 

Finally, I printed the names on card stock, cut them out with a paper punch and attached the name tags to the frames so everybody at the reception would know who the people were.


Honestly, it was my favorite decoration at the wedding! So many people kept commenting on how much fun it was to look at all the wedding pictures. It was also a nice way to show our family how much we look up to them, and how we want our marriage to be as happy as theirs.
 

1. What are some fun displays you have seen at weddings?


Sunday, June 2

DIY - Wooden Framed Picture Display


When David and I were planning our wedding we agreed that we wanted to make it really personal. We decided that one of the best ways to do that was to share pictures of us together over the past years of dating.We had seen a project like this similar to online once, so we decided to jump on it and make it our own!

I was also really lucky, we had some old fence boards, eyelets, and ribbon laying around so this whole project cost me $7, and for a budget bride I couldn't be happier!

You could also use this at any event! Birthday parties, graduations, anniversary, or just a fun way to display pictures around the house!

Here is what you need:
sandpaper
wood
saw
metal braces
eyelet screws
ribbon
clothespins
photos

Unfortunately I didn't take any pictures of making of (sorry....), but here is how you make it!
  

First cut the wood boards into the lengths you want and then sand the edges till they are nice and smooth. Lay out the boards on a flat surface in the shape you want, and then attach the boards together using a metal plate or brace.


Once you have your frame created now its time to attach the eyelets. Using a ruler or tape measure mark the locations of where you want them. I wanted to hang 4x6 pictures so I spaced the eyelets 7 inches apart. Then screw the eyelets in on the spot you marked.

Finally attach your favorite and your done!


Decorate with your favorite pictures and enjoy! I hope you like it!

We had so much fun together over the past few years!

1. What are some fun ways you have seen to show off pictures?

Wednesday, May 22

Wordless Wednesday: Galveston Island

My second installment of wordless Wednesday... Enjoy!

Getting some sun at Galveston Island!
Shipley's first trip to the beach!

Saturday night boredom.... I made a bridge!

I finally changed my name tag at work to show my new last name!
1. Does your dog like water?
2. What kind of things do you do when your bored?

Wednesday, May 15

Wordless Wednesday - Art Cars, Houston Symphony and Shipley

I've finally decided to take part in the Wordless-Wednesday fun! Here are a few pictures from my past week! Enjoy!

Houston Art Car Parade!

That car is decorated with marshmallow peeps!

Peacock Car!

Houston Sympathy: First date night as Husband and wife!

On the way back from Grand-Puppy-Moma's for Mother's Day!

I think Shipley saw a squirel!

1. What was the favorite thing you did this week?
2. Does your city host any fun events that you love to go to?

Monday, May 13

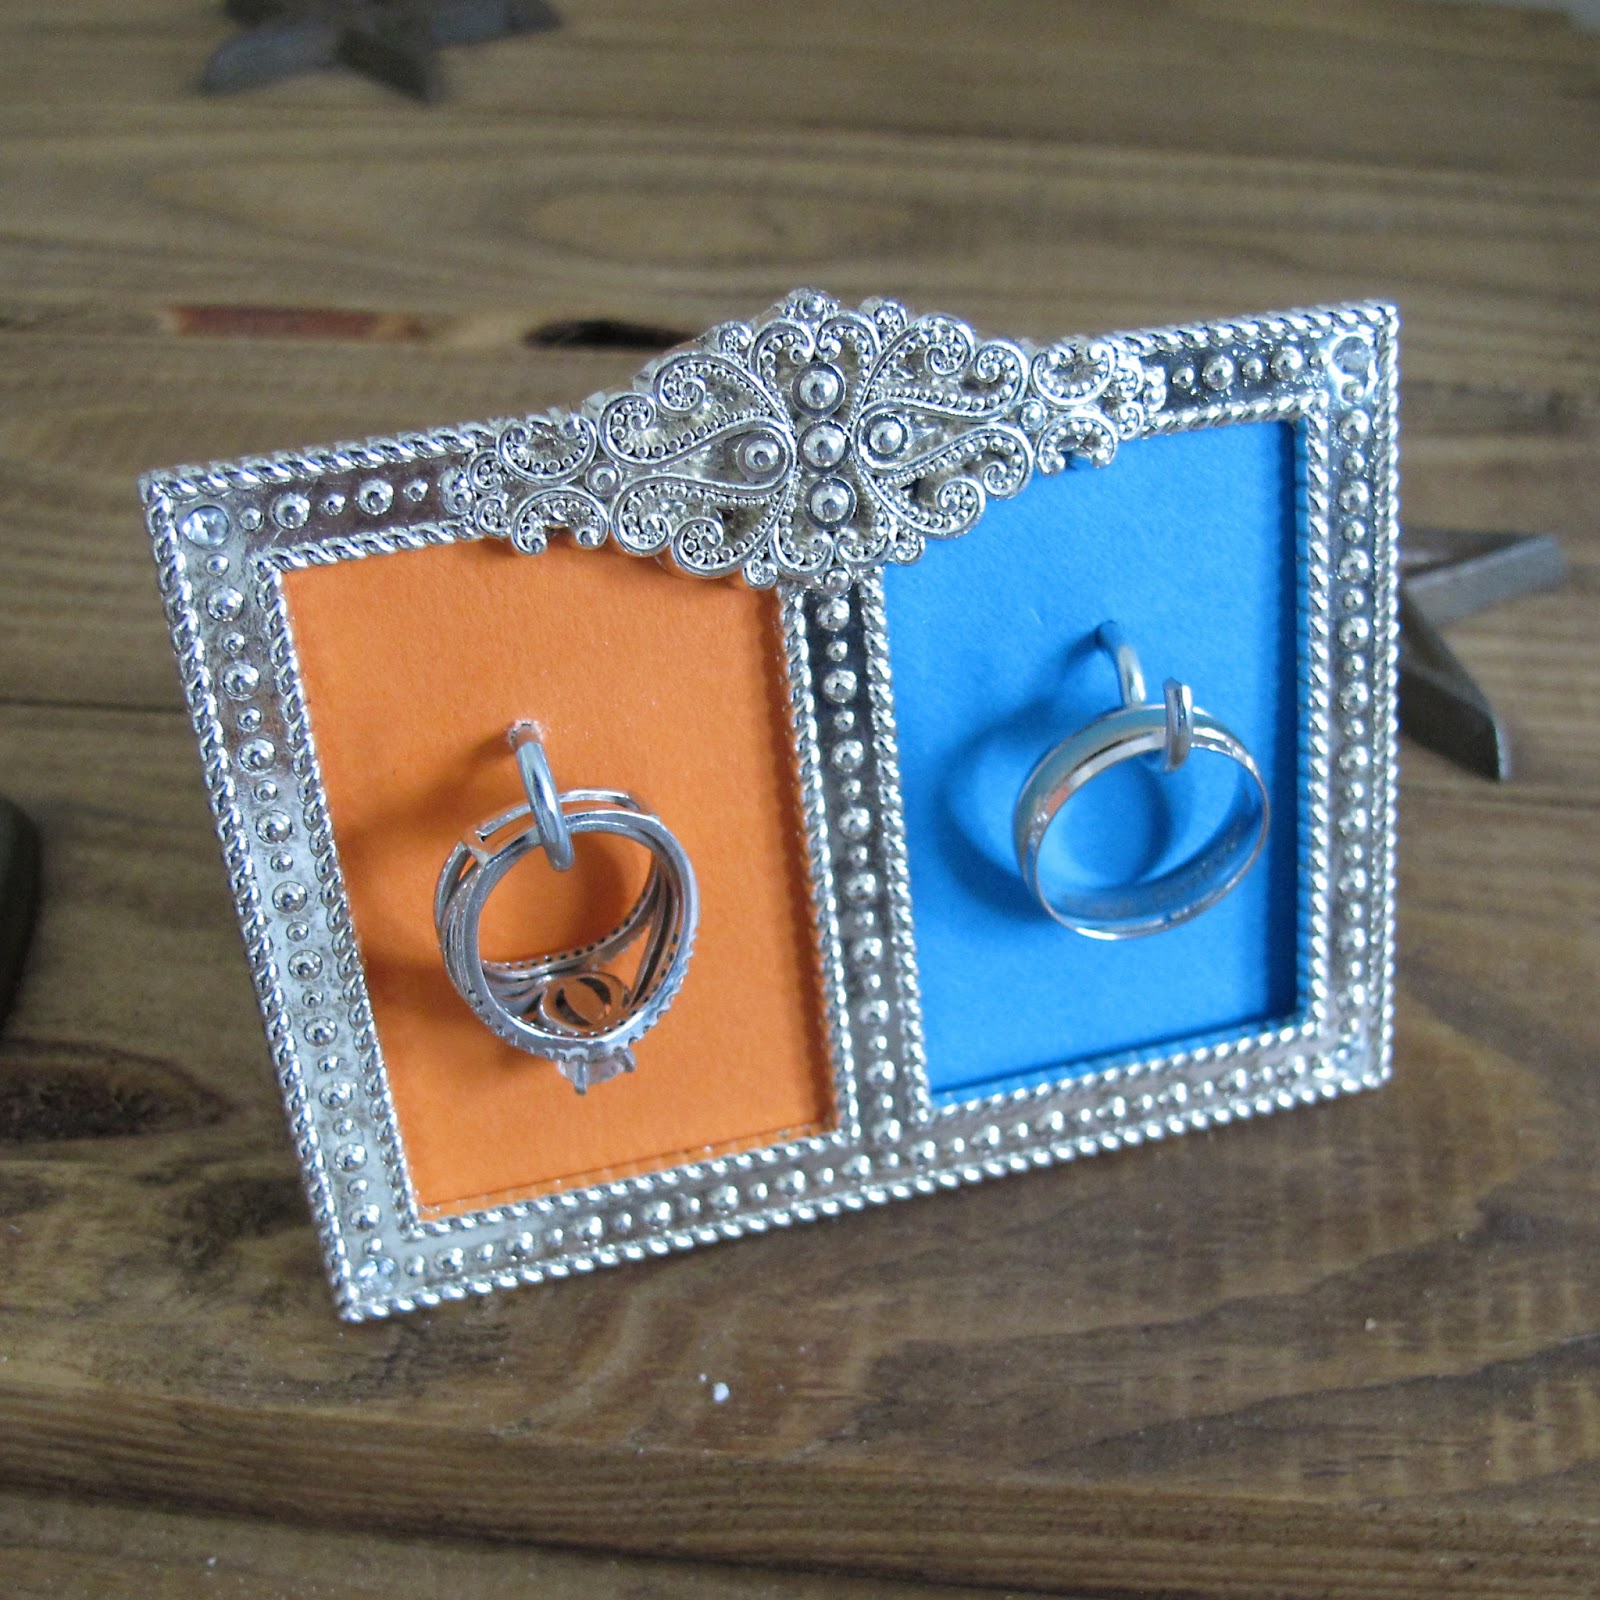
DIY Wedding Ring Holder


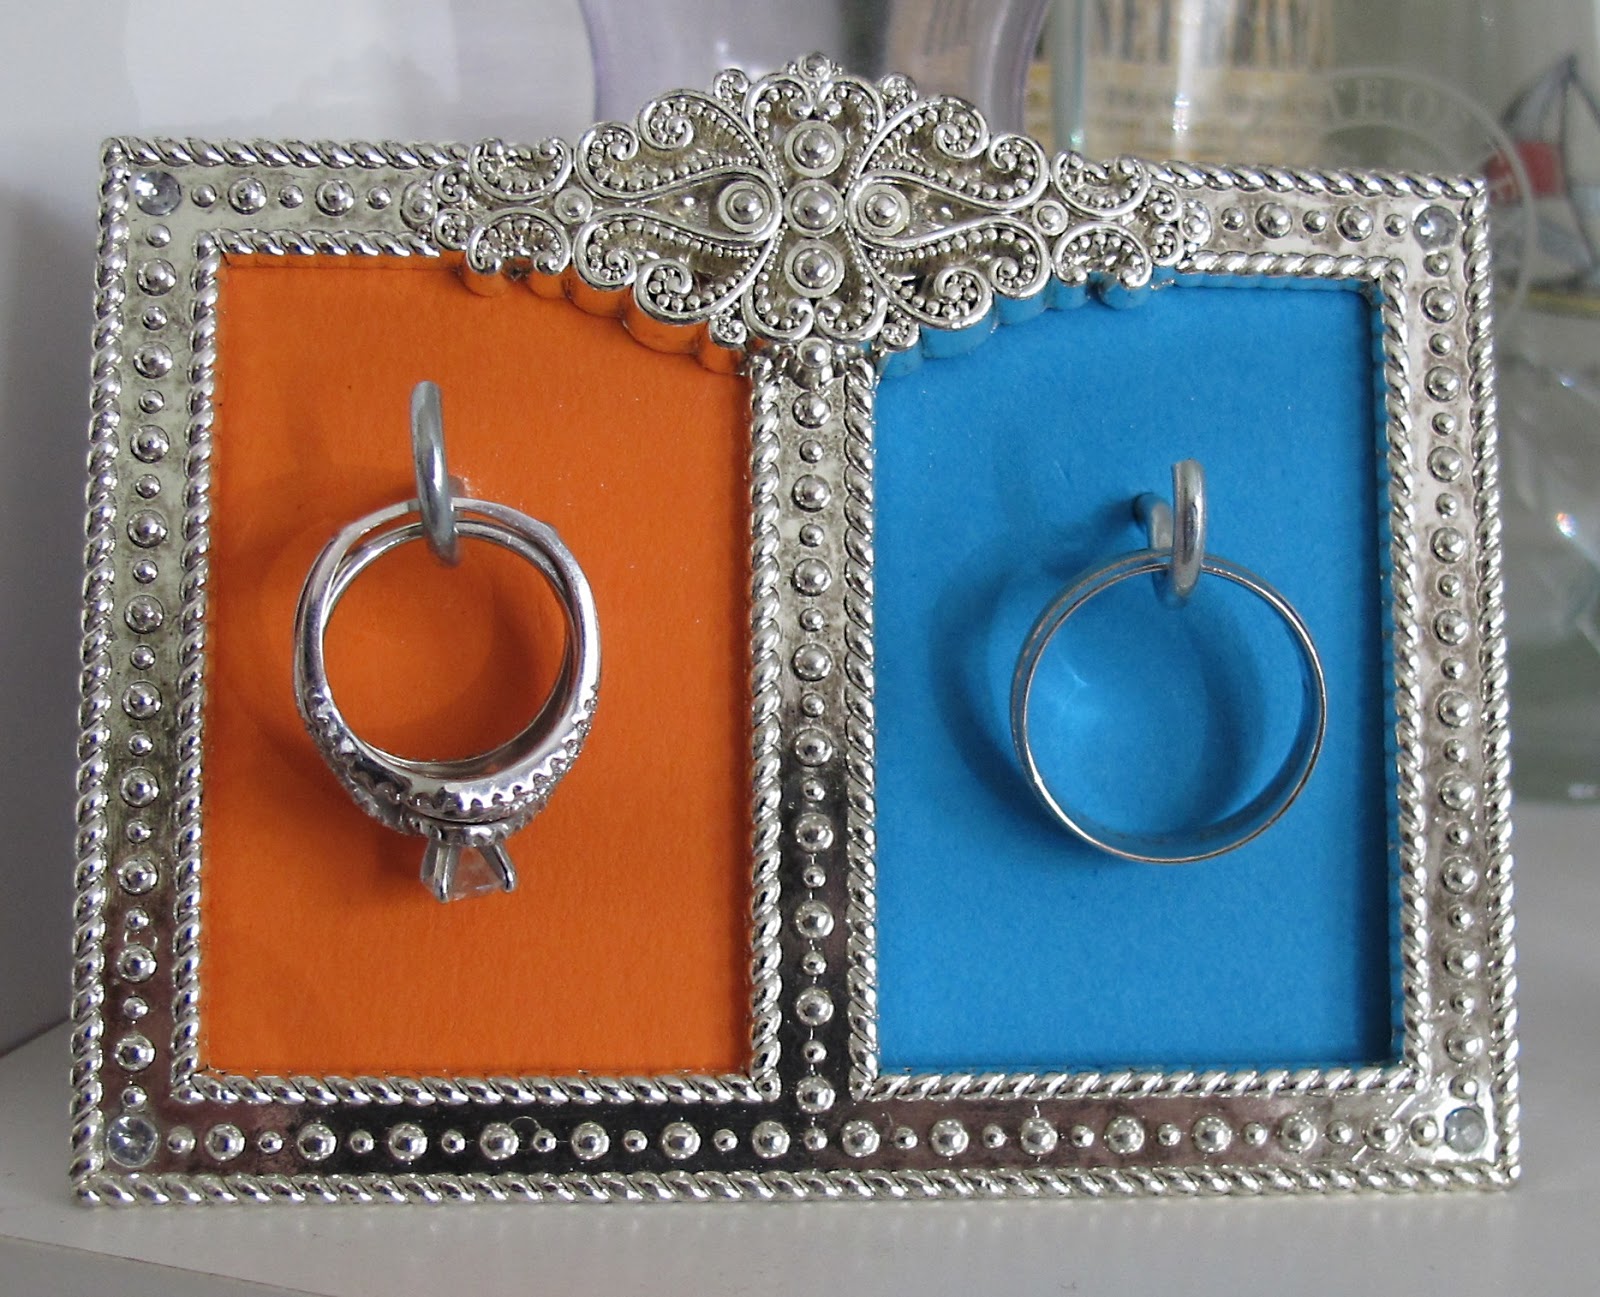
 When I was at the craft store the other day with my husband I stumbled across a small double frame. I thought it was adorable and would look awfully cute with some rings hanging in it. So I made my husband buy me the frame, and immediately went home to start working on the project.

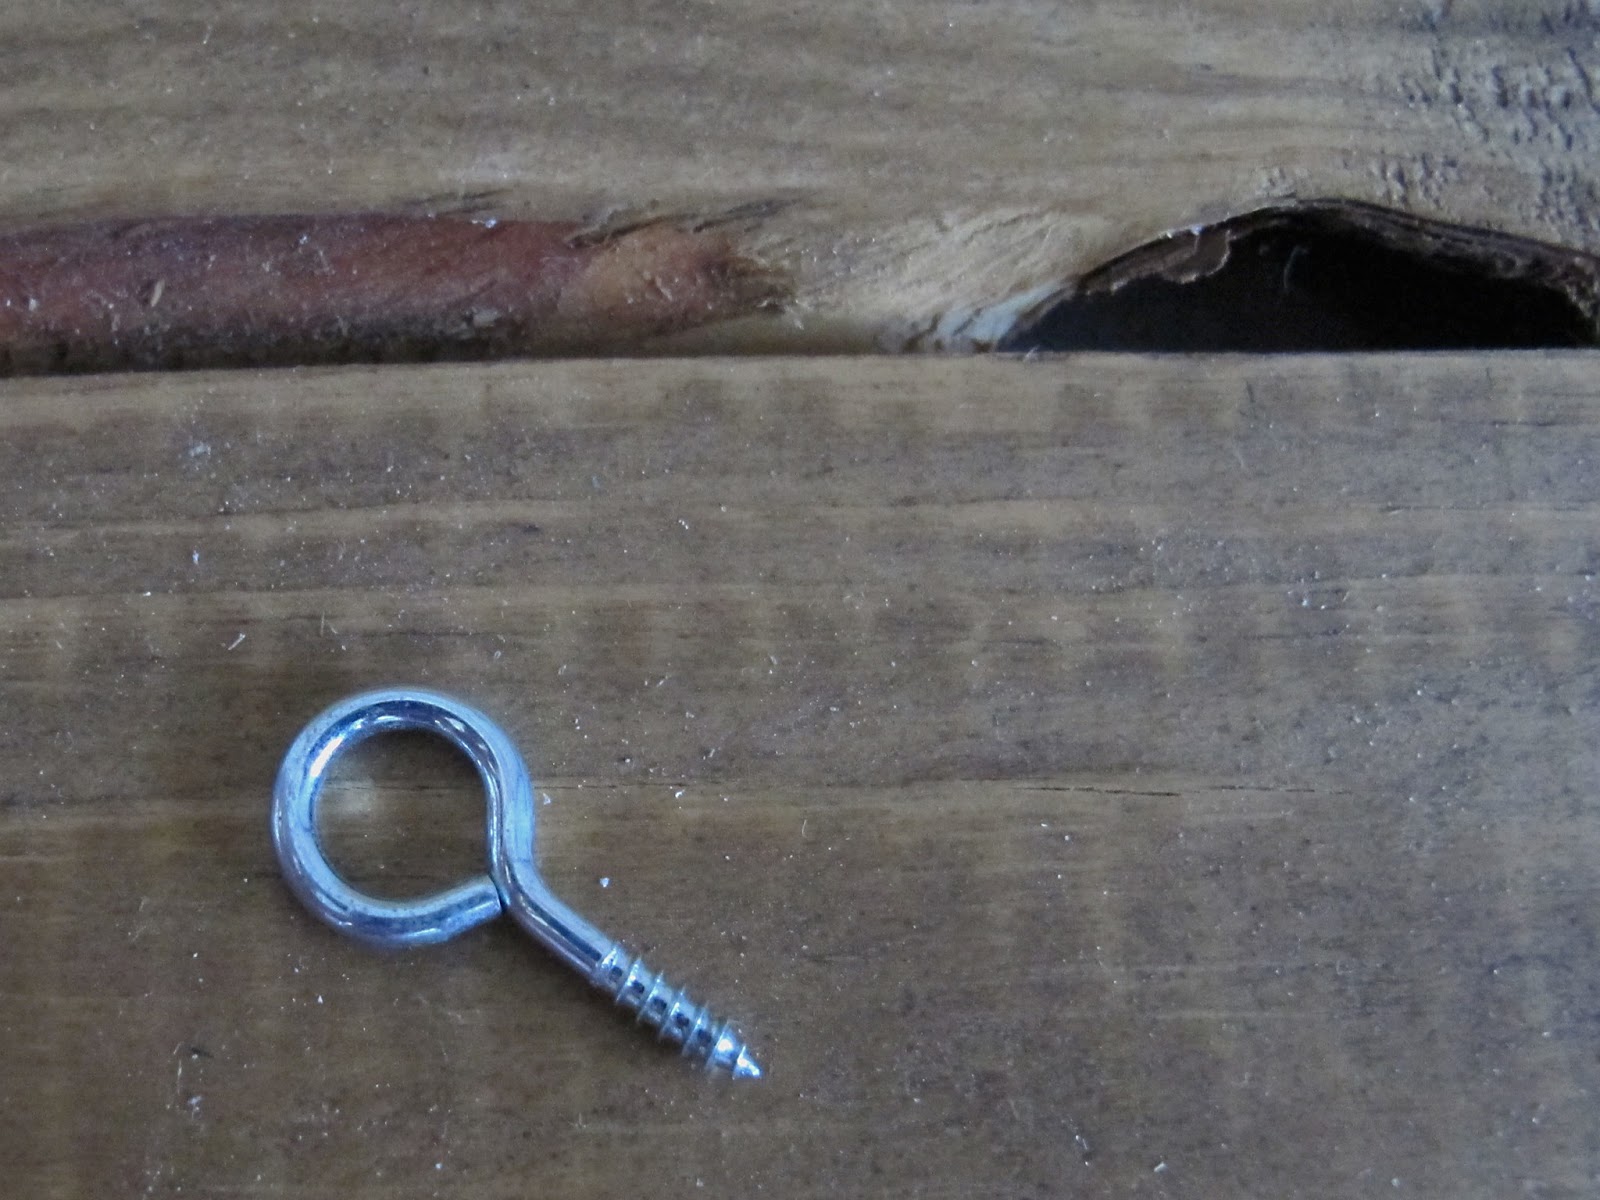
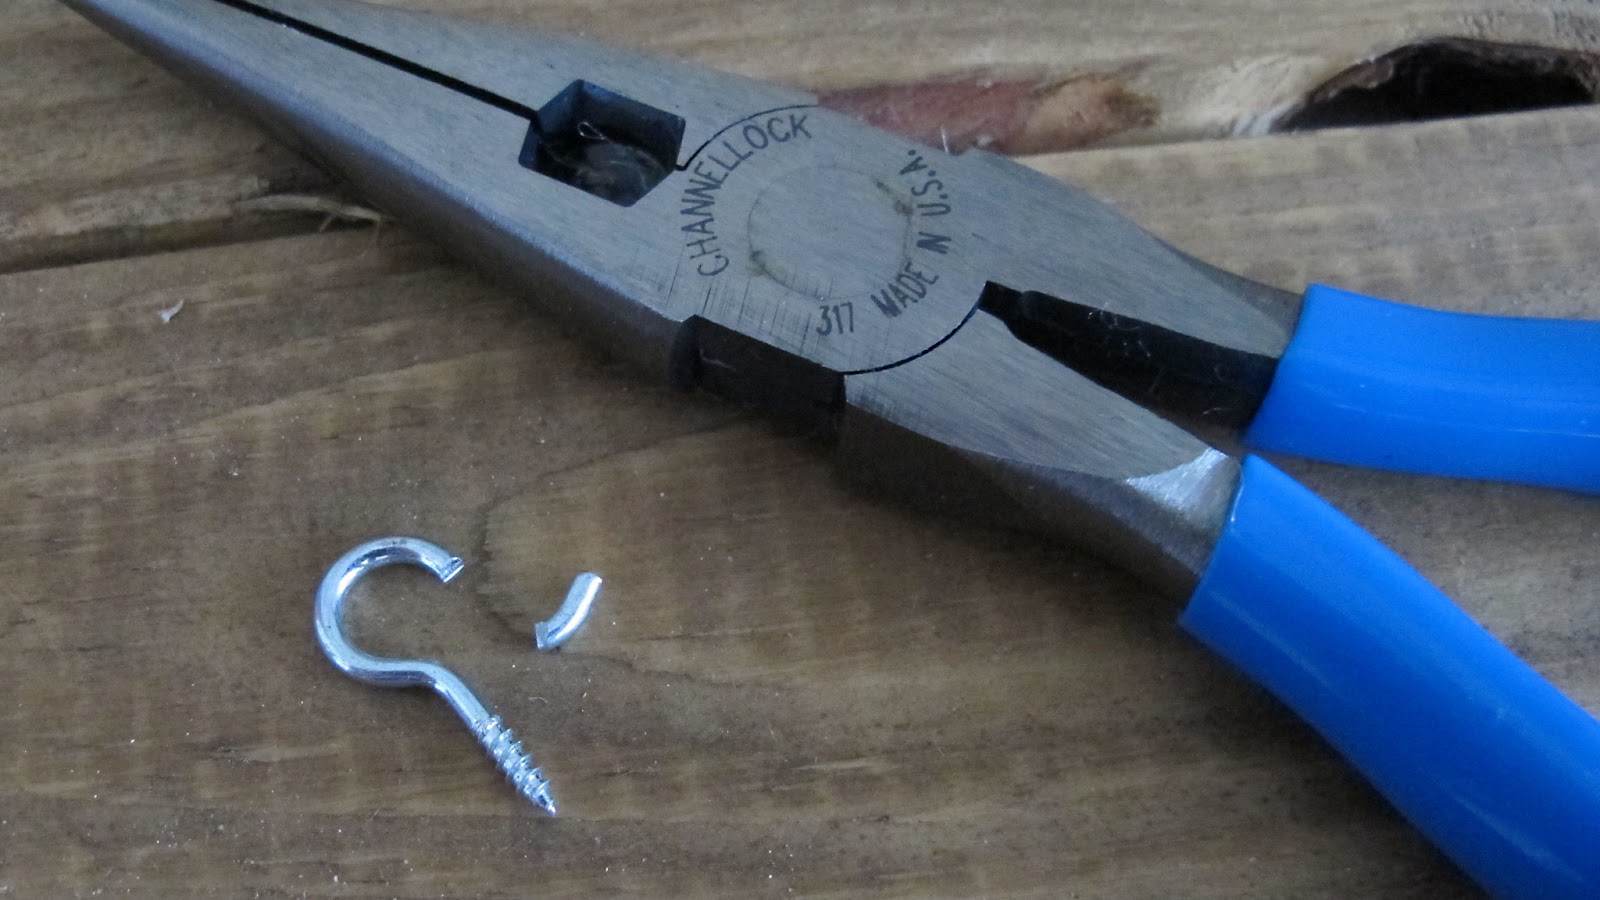
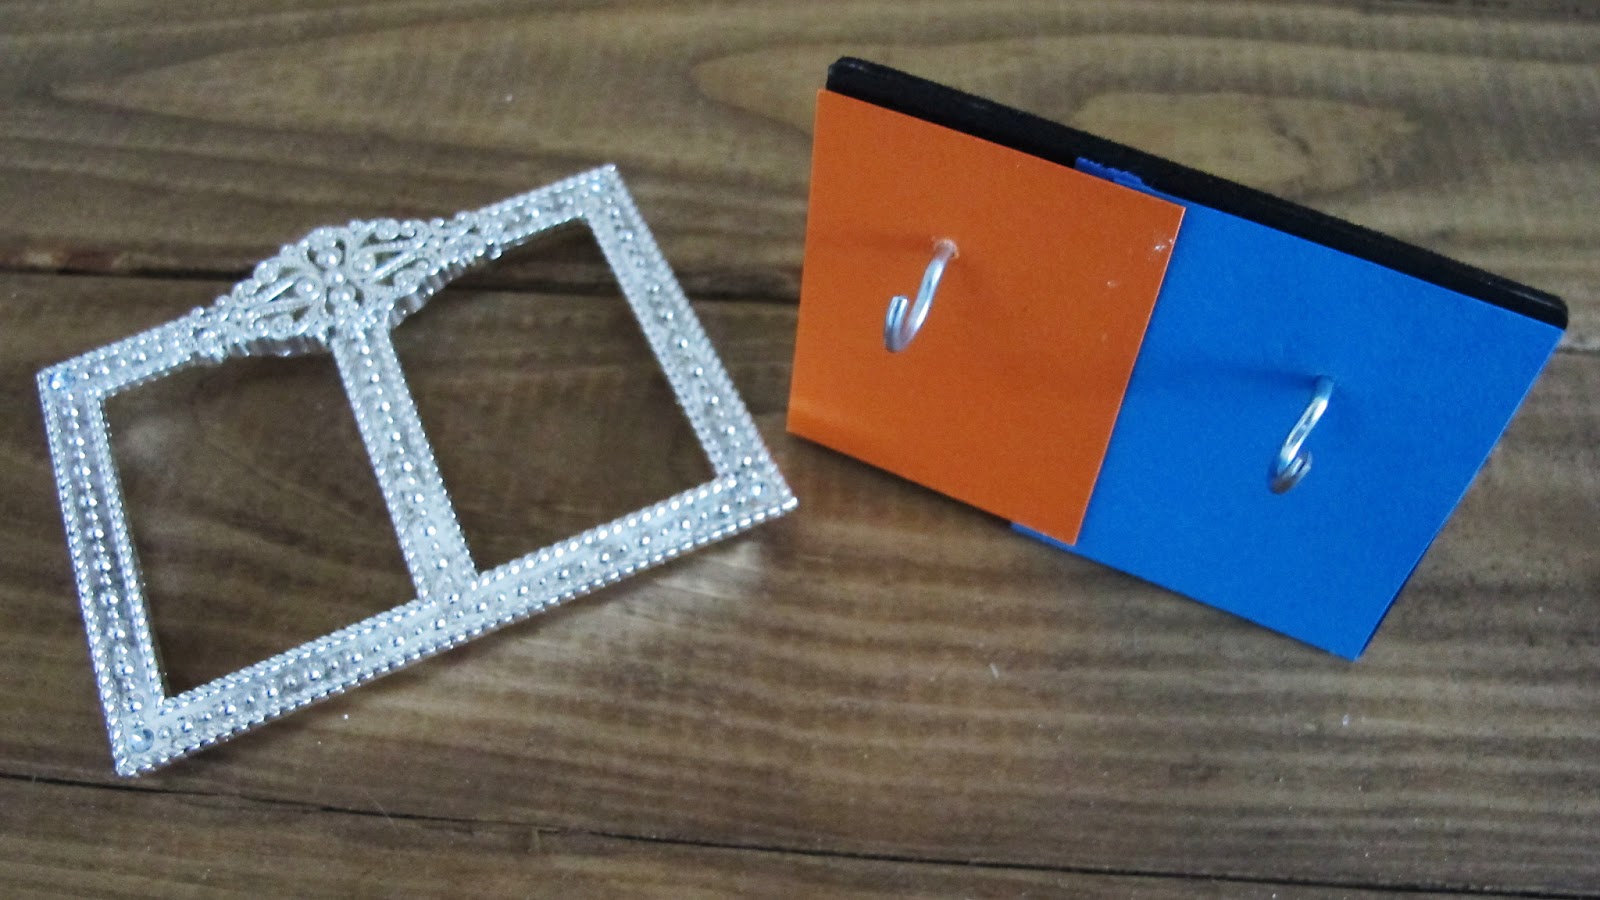
I had some eyelet hooks at the house but no hooks. I took my handy needle nose pliers and made my own! With a quick snip I had the hooks I needed.


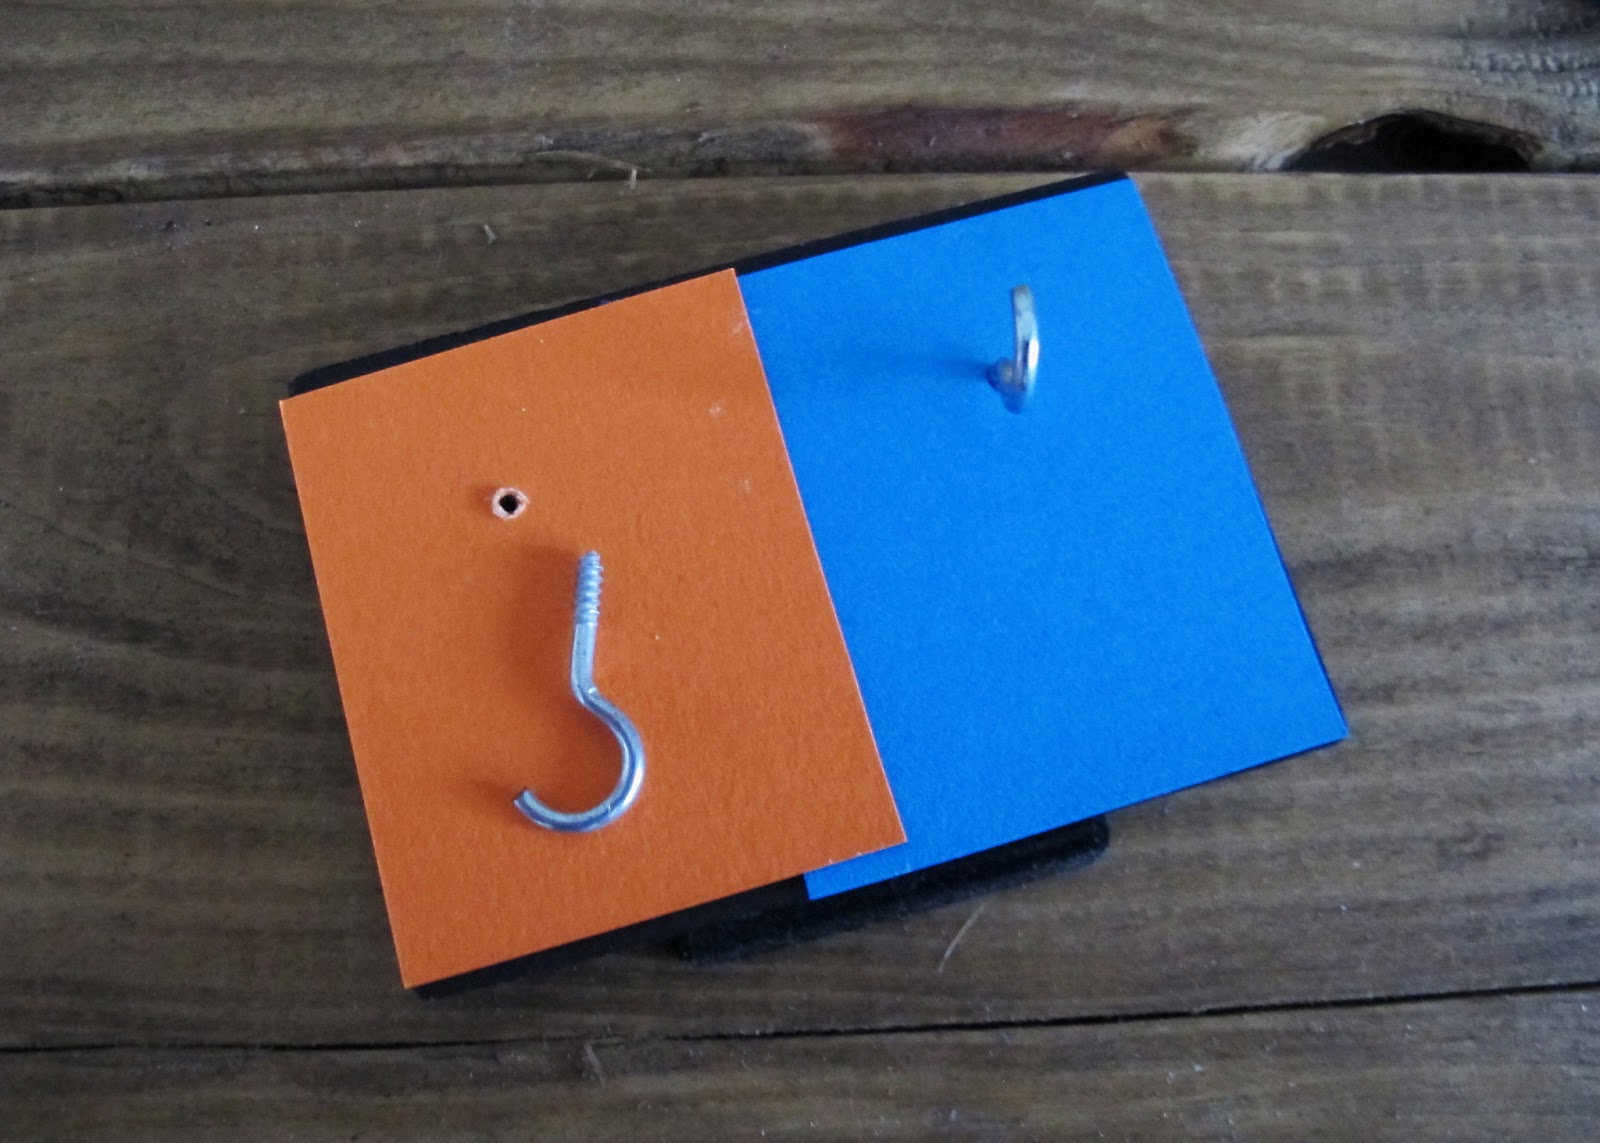
I then cut out some scrap book paper to fit in the openings. I choose orange and blue as those were our wedding colors, and why not have a small reminder! I taped the paper to the back of the frame.

Next was the easy part! I marked on the paper where I wanted the hooks and then started rotating the hooks until they were in "deep" enough. Once the hooks were in their spots. I put the back into the frame and that was it!


Super easy right? We have the ring holder on our shelf in the kitchen so anytime we are cooking or washing dishes I can hang my ring with out worrying about loosing it! There is also a spot for my husband's ring so he has no excuses to help with the dishes!


1. Do you ever take your wedding ring off?

2. Where do you like to keep your rings? 

Related Posts Plugin for WordPress, Blogger...