Friday, April 20

DIY - Paint Sample Dry Erase Calendar

Even though I normally only do sweets on this website I wanted to share a calendar I made the other day!

While browsing through pinterest or etsy you see so many diy paint sample projects. What's not to love about them? First its cheap {paint samples are free} and second they usually are just plain cute. I finally decided to try a paint sample project of my own: a dry erase calendar!


Supplies:
  • Lots and Lots of paint samples. I honestly don't know how many I used)
  • A Cute Frame
  • Glue {I like rubber cement}
  • Scissors or a Paper Cutter
  • Large piece of paper that fits in frame. I glued my calendar to back of the paper that came with it.
  • Stickers or Pen for the dates
  • A Ruler
  • Dry Erase Markers
Directions {Based on a 14x18in frame}

1. Use your scissors or paper cutter to cut out 9 (1.5in x 1in) month letter square, 7 (2.25in x 1.25in) weekday block, 35 (2.25in x1.75in) day blocks and 2 (7.5in x 1.75in) note blocks.


2. Arrange all the pieces until you get the color pattern you like.


3. Write or add stickers to the  7 (2.25in x 1.25in) weekday block for the weekdays.


4. Start Gluing the pieces to the paper and let dry.


5. Place in Frame and admire your masterpiece!


How do you like to keep yourself organized?

Thursday, April 19

Summer Strawberry-Basil Ice Tea

Summer is hot, humid, and the PERFECT time for summer drinks. A lady a work got a basil plant with a recipe for Strawberry-Basil Ice Tea tied to it. The recipe looked delicious and I had to try it! I hope yall enjoyed it as much as I did!

Tell me, what do you think of the recipe?


Recipe from Martha Stewart

Ingredients

  • 8 black-tea bags
  • 1 pound strawberries, hulled and halved (quartered if large)
  • 1 cup water, plus more for steeping
  • 3/4 cup sugar
  • 1 cup fresh basil, plus more for serving
  • Ice, for serving
Directions
  1. Bring 4 cups water to a boil in a medium saucepan. Add tea bags, and let steep for 5 minutes.
  2. Place strawberries in a bowl. Bring water and sugar to a boil in a small saucepan, stirring until sugar dissolves. Remove from heat, add basil, and let steep for 10 minutes. Strain over strawberries; discard basil. Toss to coat. Let stand until cool, about 25 minutes. Combine strawberries (with syrup) and tea in a pitcher. Refrigerate until chilled. Serve over ice, and garnish with basil.

Monday, April 16

Who Says There's no Cupcakes in Baseball?

With the end of my softball season fast approaching I decided to make some baseball themed cupcakes for the last game of the season. Unfortunately our last game got rained out and is now postponed to a later date, so the cupcakes that were supposed to be taken to the game were instead enjoyed by all of my coworkers.


These cupcakes were very easy to make and I bet every one around you will enjoy how adorable they look!

To make the grass:
Fill a ziplock bag with coconut flakes and add green food coloring. Close the bag and shake/rub together until all the coconut is colored green. ( sorry I didn't take a picture of this) Once it is colored to your preferred green lay out on a paper towel and rub to get any extra green off the coconut. Let sit until you are ready to decorate.

To make the baseballs:


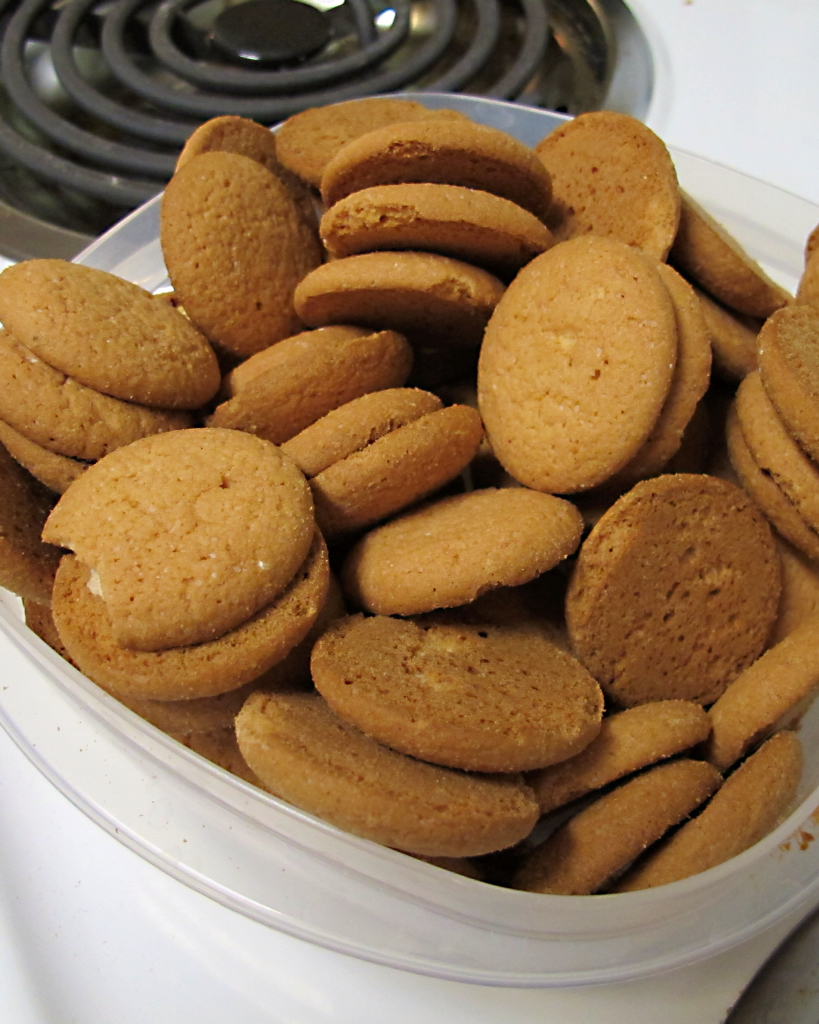
Dip vanilla wafers in white chocolate. Let sit until hard. Take red icing and pipe on wafers to mimic a baseball.


To assemble cupcakes:
Ice the cupcakes with green icing. Cover with coconut and shake off excess. Top with baseball. Enjoy!


Friday, April 13

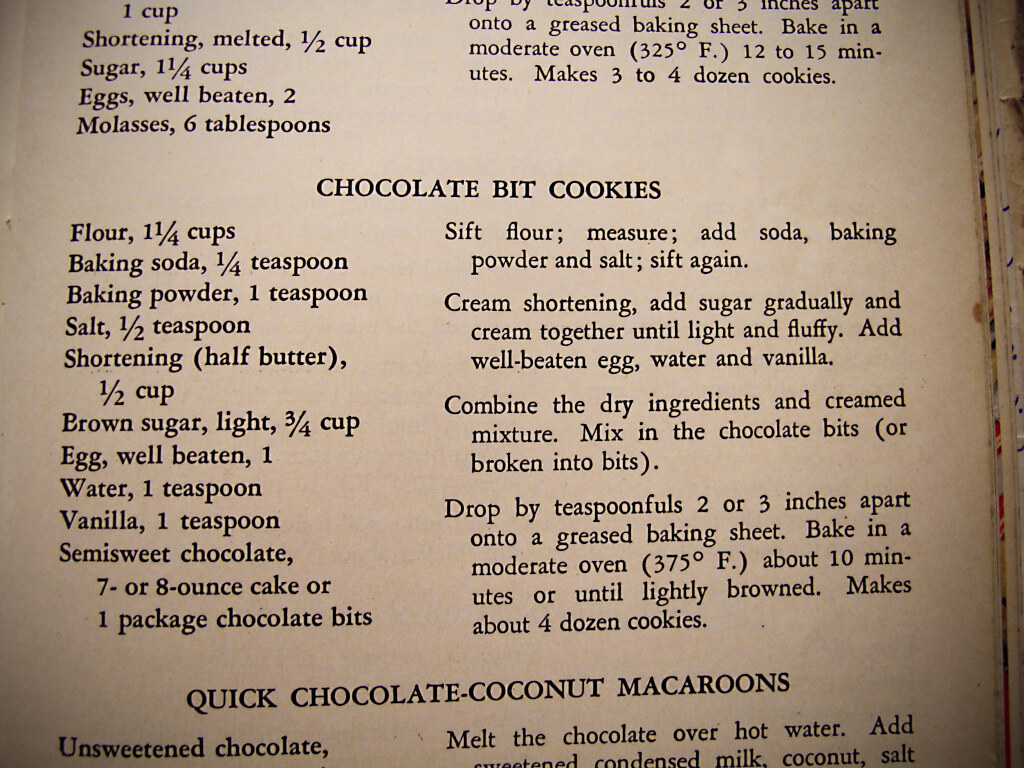
1946 Chocolate Bit (Chip) Cookies


A year ago when I was visiting my uncle in Wisconsin I heard the best thing in the world, he was giving me my Grandmothers cookbook. It's a The "Women's Home Companion Cookbook" published in 1946. It has very interesting sections about how you are in charge of the nutrition for your family and you you can be the envy of all your friends by throwing a seamless dinner party.


Well since I got the cook book a year ago I've been meaning to cook something out of it, but with Pinterest taking all my time every time I cooked or baked something I didn't even think about looking in her cookbook. Finally a made a point and I choose to look for Chocolate Chip Cookies.


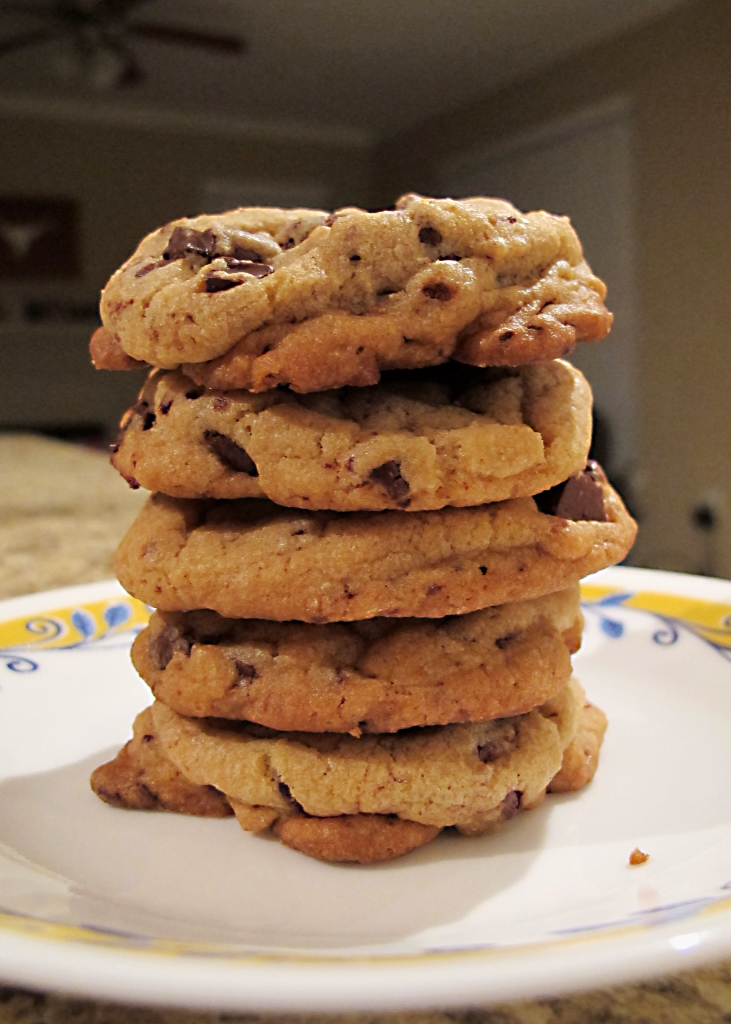
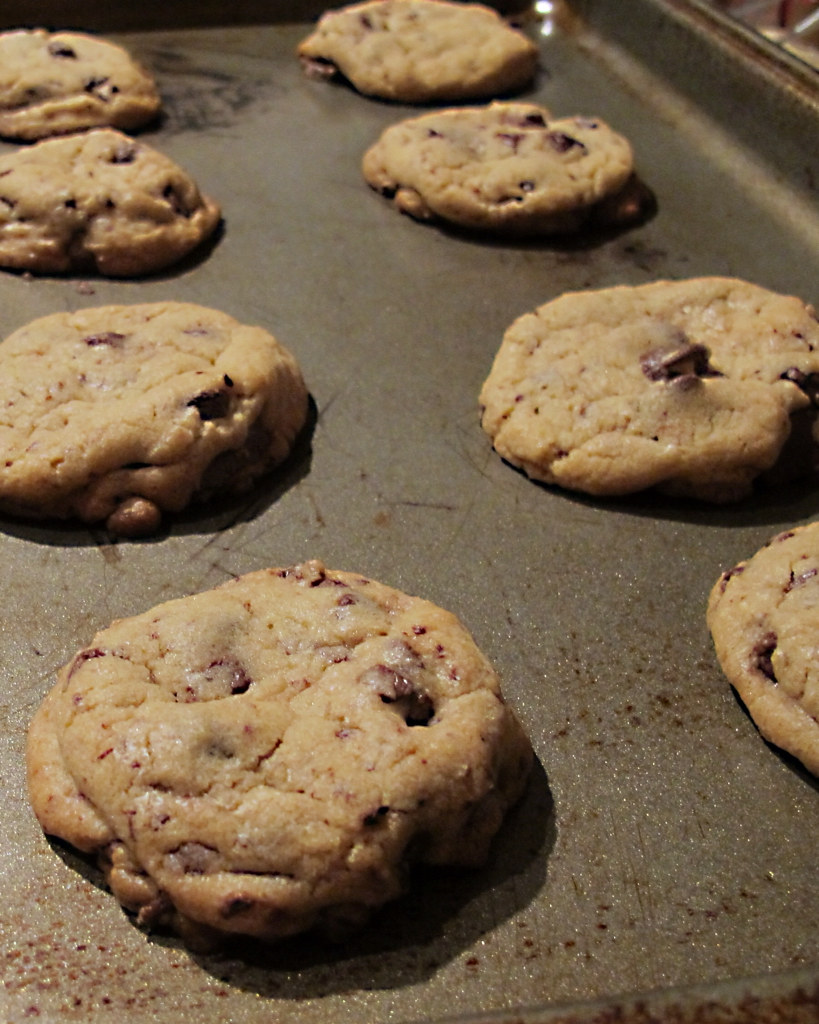
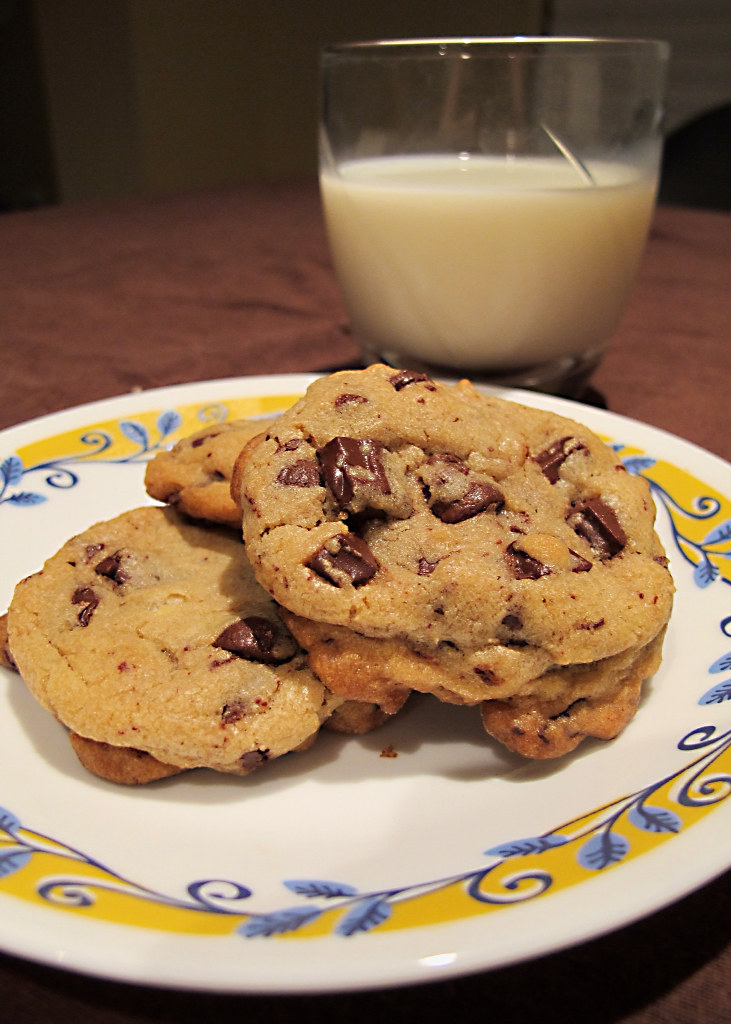
I settled on the chocolate bit cookies and was I happy I choose them. The cookies turned out very moist and utterly delicious. I think this will be my go to chocolate chip cookie from now on!

All the ingredients
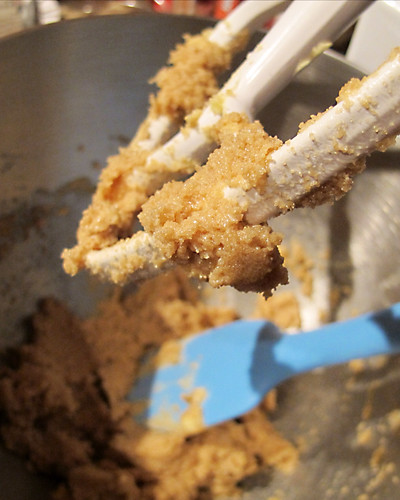
Freshly Mixed
Fresh out of the oven goodness.
You can't have cookies without a glass of milk!

Monday, April 9

Tasty Fruit Pizza

Spring is officially in the air. Not only does that mean that its getting prettier outside with flowers and green grass but it also means that its getting hotter! So for Easter weekend we wanted a dessert that was not only tasty but it needed to be lite and fresh. 

  To make fruit pizza you only need 4 things:
  • Sugar Cookie Dough
  • 8oz Cream Cheese
  • 8oz Tub Cool Whip
  • Lots of fresh fruit
And that's it! 


 First using the palm of your hands spread the cookie dough over a pizza pan. Once it looks like rolled out pizza dough cook according to the cookie directions. Cool Completely.


Next whip the cream cheese and the cool whip together to make a creamy frosting. Spread over the cooled cookie.

Chop your fresh fruit into slices and place on frosted cookie. Be Creative!


 And that's it!!! Simple right?


Last but not least, cut yourself a slice and enjoy! I told you it would be Tasty!

Wednesday, February 15

Homemade Edible Arrangement


 I love to make homemade gifts for Valentines Day. It seems more personal and its always more fun.  This year I decided to make an Edible Arrangement. The idea started with chocolate covered strawberries and evolved from there. It was an adventure just trying to gather all the things I needed. I went Michaels to buy styrofoame and a container,  HEB to buy chocolate, fruit, and then Wal-Mart (because HEB was out of strawberries).

To get started I googled "homemade edible arrangement". What came up was a website called Plan the Perfect Baby Shower. There are possibly endless pages and blogs that will tell you how to do this, so search around some more and and find what you like.

For my bouquet I used a Square Container, Styrofoam that fit in the container, Plastic Sticks, 1 Pineapple, 1 Cantaloupe, 12 Strawberries and Dipping Chocolate, Flower Cookie Cutter, Melon Baller and Knife.

Using a knife, I cut the pineapple into 1/2 inch thick slices (about the width of my flower cookie cutter).I ended up using 5 slices. Next using the cookie cutter, I pressed each slice of pineapple and cut a flower put of the pineapple slices.


After that I cut my cantaloupe, and with the melon baller I scooped out balls for each flower. They were too round, so I cut the cantaloupe balls in half so that they would have a flat side to sit against the pineapple.


Next I stuck my strawberries on the plastic skewers and dipped them in chocolate. I had some extra styrofoame so i stuck them in that to let them harden up.


Once everything was on skewers I place them in the container. I started with the pineapple flowers, 4 on each corner and one in the middle. Then I found holes for all the strawberries.


I don't like to brag but..... The end product looked amazing!!


Thursday, February 9

Cooking Class with Cheff Eddy

I am a fan of Imperial Sugar on Facebook. Why? Because I love sugar of course! Actually I think you got a free recipe if you "liked" them, and I am always on the look out for new recipes!  So one hot day in October, I was on Facebook during work (taking a well deserved break) and a saw that they had posted a contest about winning a baking class in Houston. So of course I commented, and I won.

I was a little nervous asking my boss for the whole day off, but since everyone at my work knows I have a passion for baking he let me go. It turned out to be an amazing experience. The class ended up being taught by Chef Eddy Van Damme, Imperial Sugar's Chef Partner. There were only 4 of us in the class. 


He taught us to make Belgin Truffles, Mendiant Chocolates and Fruit Tarts. He also took us out to lunch and dinner to places that I honestly don't think I could afford except on special occasions. 

Hopefully i will be able to take what i learned in class and make some awesome new desserts. Here are some pictures from that day:


Tempering Chocolate
Yummy Goodies to take home!


Related Posts Plugin for WordPress, Blogger...